UPLOADING A DOCUMENT (DMS USER)
Prerequisite(s): The System Administrator must have assigned you a DMS Customer role.
A customer folder must have been added to DMS folder structure and you must have read privileges to this folder.
1. Hover your mouse over the Administration link on the menu bar.
2. Click the Document Management sub-link from the menu bar.
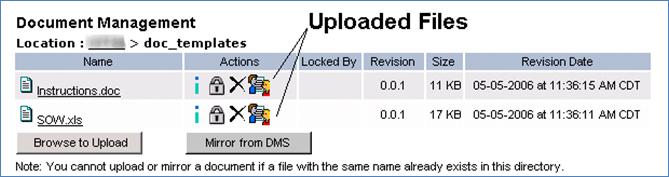
3. Navigate the DMS folder structure to the folder where you wish to add a document by clicking each folder name link.

4. Click the Browse to Upload button (see Screen Shot).
5. In the Multiple File/Folder Check-In pop-up menu, click the Browse button.
6. In the Open pop-up menu, select one or more local file(s) and click the Open button.
Note: To remove one or more added files, click the file(s) to be removed and click the Remove button. To select multiple files to be removed, click the first file to be removed and hold the CTRL key for each one selected beyond the first and click the Remove button.
7. In the Multiple File/Folder Check-In pop-up menu, click the Check-In button (see Screen Shot).
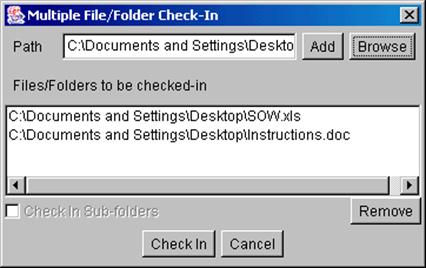
Note: To cancel the file check-in process, click the Cancel button in the Multiple File/Folder Check-In pop-up menu.
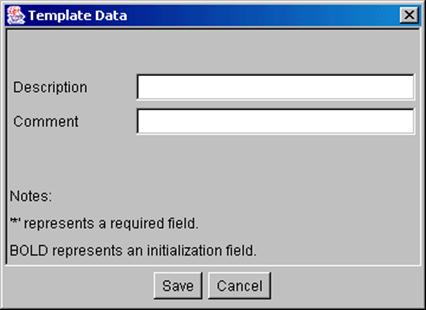
8. In the Template Data pop-up menu, enter an optional Description and Comments that relate to the file(s)/folder(s) uploaded and click the Save button (see Screen Shot).
Note: To check-in file(s) without providing a description or comments, click the Cancel button in the Template Data pop-up menu.
Note: Only Information ( ) and Markup (
 ) functionalities are available for
these documents in these customer folders for users who have the Document
Management link on their action list and read-only access to this folder and its
documents. All icons are available to users who have the Document Management
link on their action list and have read/write privileges to this customer folder
and its document; these users are able to edit, update and/or delete
documents.
) functionalities are available for
these documents in these customer folders for users who have the Document
Management link on their action list and read-only access to this folder and its
documents. All icons are available to users who have the Document Management
link on their action list and have read/write privileges to this customer folder
and its document; these users are able to edit, update and/or delete
documents.